
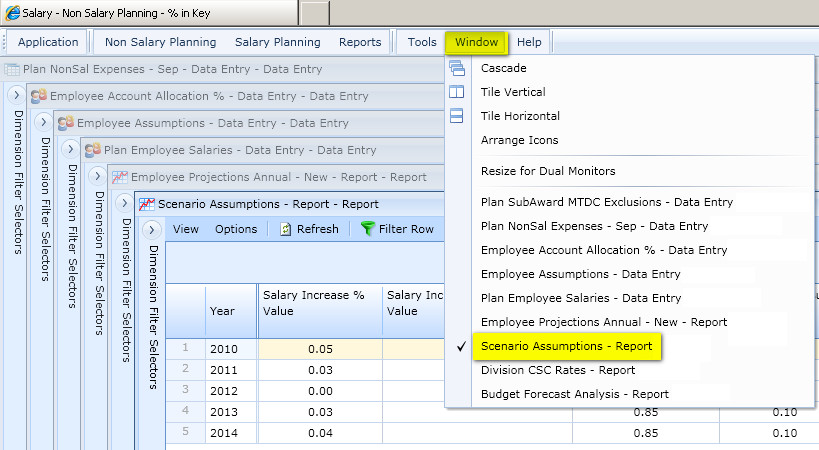
The Windows Menu provides options for arranging your data entry and reporting grids. When first logging into the tool, the available windows in your application will be in cascade format as shown below. Windows may be Tiled Vertical, Horizontal, Minimized (Arrange Icons), and re-sized for Dual Monitors. Infrequently used windows may also be closed but can be easily be re-opened using the Non Salary Planning, Salary Planning, and Reports menus.

Use the Windows Menu to arrange windows as desired and to quickly locate the grid set needed for the planning task at hand.
1. Identify the grids you will most frequently use for planning and forecasting exercises. Some suggestions:
2. Click the Windows menu and select Scenario Assumptions – Report.
3. Close the following Windows:

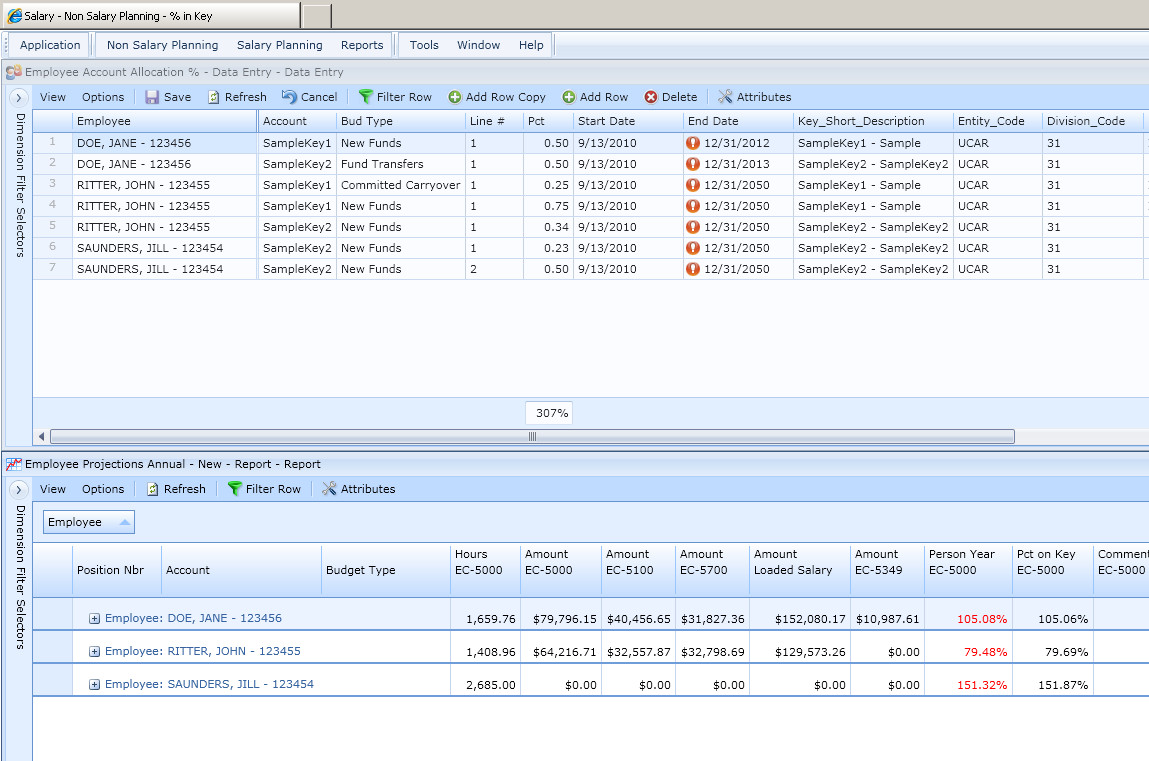
4. Arrange the remaining windows as follows (Tile Horizontal):
5. Go to the Application menu and click Save Application Layout
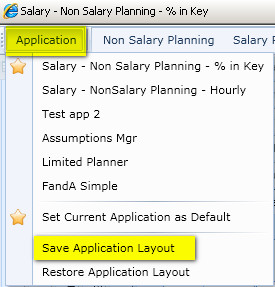
6. Close the browser and reopen. Note how your application appears as you last left it after saving the layout.